
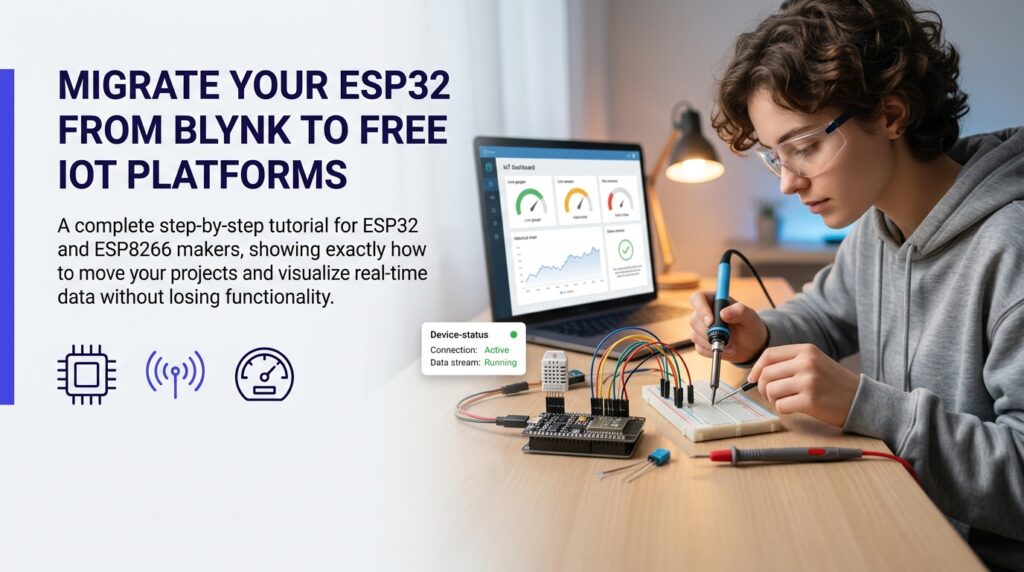
If you have been running ESP32 or ESP8266 projects on Blynk and recently hit a paywall, you are not alone. Thousands of makers and engineering students are actively looking for ways to migrate from Blynk to a free IoT platform that offers real control without a monthly subscription. This guide walks you through the entire process — from understanding your options to writing your first MQTT-based firmware update — so your hardware projects keep running without costing you anything.
How to Migrate from Blynk to a Free IoT Platform
Definition and Background
Blynk started as a popular drag-and-drop mobile dashboard for IoT prototypes. It let students connect an ESP8266 or ESP32 to a phone app in minutes, which made it a go-to tool in university labs and maker communities worldwide. However, after Blynk’s 2.0 relaunch, the free tier became increasingly restrictive — limiting the number of devices, data streams, and automation rules available to unpaid accounts.
Migrating from Blynk means replacing three things: the cloud broker that receives your sensor data, the dashboard that visualises it, and the firmware library on your microcontroller. Free alternatives such as Eclipse Mosquitto (MQTT broker) paired with Node-RED or Home Assistant handle all three roles without any subscription cost.
Why It Matters
According to the IoT Analytics 2024 report, the number of connected IoT devices globally surpassed 16 billion. Most of those devices are managed through cloud middleware — exactly the layer Blynk occupied in your project stack. When that layer introduces costs or data limits, every project built on top of it becomes fragile. A self-hosted or community-maintained free platform gives you stability that a commercial product’s pricing strategy cannot take away.
Why Making the Switch Pays Off
Primary Advantages
- Zero ongoing cost: Platforms like Home Assistant, Node-RED, and a self-hosted Mosquitto broker run entirely for free on a Raspberry Pi or any Linux server.
- No device or data stream limits: Add 50 sensors or 5 — the platform does not charge per datapoint.
- Local-first operation: Your data never leaves your network unless you choose to expose it, which matters for privacy-sensitive applications like home automation.
- Standard protocols: MQTT is an open standard used across industrial IoT, so skills you build now transfer directly to professional environments.
- Full customisation: Node-RED flows and Grafana dashboards can be tailored to exactly what your project needs, not what a SaaS product allows.
Who Benefits Most
Engineering students building capstone projects, self-taught makers running home automation setups, and budget-conscious hobbyists working with multiple microcontrollers all gain the most from this migration. If you are already comfortable flashing firmware to an ESP32 and writing basic Arduino sketches, you have every skill needed to complete this transition. Check out our post on Blynk Free Plan Limits and How to Escape Them for more context on exactly where Blynk’s restrictions hit hardest.
Step 1 — Audit Your Current Blynk Project
Before touching any firmware, document everything your Blynk project does. Open your Blynk app and list every virtual pin, widget, and automation rule you have configured. Note the data types each pin carries — integer, float, or string. This inventory becomes your migration checklist and prevents you from accidentally skipping a sensor or control.
Step 2 — Choose and Install Your Free IoT Platform
The most practical combination for most makers is Mosquitto + Node-RED running on a Raspberry Pi or a low-cost VPS. If you prefer a polished UI without much configuration, Home Assistant with its MQTT integration is an excellent choice. For pure data visualisation, pair Mosquitto with InfluxDB and Grafana.
Install Mosquitto on a Raspberry Pi with two terminal commands:
sudo apt update && sudo apt install -y mosquitto mosquitto-clients
sudo systemctl enable mosquitto && sudo systemctl start mosquitto
Then install Node-RED globally via npm:
sudo npm install -g –unsafe-perm node-red
node-red-start
Access the Node-RED editor at http://<your-pi-ip>:1880 and install the node-red-dashboard palette from the Manage Palette menu to get drag-and-drop UI widgets similar to what Blynk offered.
Step 3 — Rewrite Your ESP32 or ESP8266 Firmware
Replace the BlynkSimpleEsp32.h include with the PubSubClient library, which handles MQTT communication. Install it through the Arduino Library Manager by searching “PubSubClient by Nick O’Leary”.
Here is a minimal working sketch that connects an ESP32 to your Mosquitto broker and publishes a temperature reading every 10 seconds:
#include <WiFi.h>
#include <PubSubClient.h>
const char* ssid = “YourSSID”;
const char* password = “YourPassword”;
const char* mqtt_server = “192.168.1.100”; // Your Pi IP
WiFiClient espClient;
PubSubClient client(espClient);
void setup() {
WiFi.begin(ssid, password);
while (WiFi.status() != WL_CONNECTED) delay(500);
client.setServer(mqtt_server, 1883);
}
void loop() {
if (!client.connected()) {
client.connect(“ESP32Client”);
}
client.loop();
float temp = 23.5; // Replace with real sensor read
char msg[50];
sprintf(msg, “%.2f”, temp);
client.publish(“home/temperature”, msg);
delay(10000);
}
This sketch works on both an ESP32-WROOM-32 and an ESP8266 NodeMCU with no modifications other than swapping the WiFi header, since PubSubClient supports both chips identically. Replace the hardcoded temperature value with your actual sensor library call — for a DHT22, that would be dht.readTemperature().
Step 4 — Build Your Dashboard in Node-RED
Open Node-RED, drag in an mqtt in node, and set the topic to home/temperature pointing at your Mosquitto broker. Connect it to a gauge or chart node from the dashboard palette. Deploy the flow, then navigate to http://<your-pi-ip>:1880/ui to see your live sensor data.
To replicate Blynk’s button-based LED control, add an mqtt out node subscribed to home/led and pair it with a dashboard switch widget. On the ESP32 side, add a subscription callback that reads the home/led topic and toggles digitalWrite(LED_PIN, payload). This mirrors exactly what Blynk’s virtual pin V1 button widget did, but through an open protocol you own entirely.
Step 5 — Test, Secure, and Go Live
Use the mosquitto_pub and mosquitto_sub command-line tools to verify messages are flowing before testing on hardware. Once confirmed, add a username and password to your Mosquitto configuration by editing /etc/mosquitto/mosquitto.conf and adding allow_anonymous false and a password_file path. Update the client.connect() call in your sketch to include credentials. Skipping this step leaves your broker open to anyone on the same network.
For a polished look at your finished build, our guide on Best Free IoT Dashboard Tools for ESP32 covers additional options including Grafana and Home Assistant if Node-RED’s interface does not suit your project style.
Common Mistakes to Avoid
Mistake #1 — Skipping the Project Audit
Jumping straight into firmware rewrites without documenting your existing Blynk setup is the fastest way to end up with a half-working migration. You will forget a sensor pin, miss an automation rule, or lose track of which MQTT topic maps to which device. Always complete the inventory from Step 1 first.
Mistake #2 — Using a Public MQTT Broker for Production
Services like broker.hivemq.com are useful for quick testing but they are public, unencrypted, and unreliable for any project you depend on. Anyone who guesses your topic name can read or publish to it. Self-host Mosquitto from day one, even on a spare laptop.
How to Prevent Them
Follow the steps in order. Do not flash new firmware until your broker is running and tested from a laptop. Use mosquitto_sub -h localhost -t "#" -v to monitor all topics in real time during development — this single command catches 90% of connectivity and topic-naming errors before they reach your hardware.
Tips for Getting the Best Results
Pro Tips
- Use a consistent MQTT topic naming convention from the start:
location/device/sensor(e.g.garage/esp32/humidity) scales cleanly as you add more nodes. - Set a Last Will and Testament (LWT) message in your
client.connect()call so your dashboard can display “offline” when a device drops unexpectedly. - Use retained messages (
client.publish("topic", msg, true)) for sensor state so any new dashboard subscriber instantly receives the last known value on connect.
Advanced Techniques
Once your basic migration is stable, consider enabling OTA (Over-the-Air) firmware updates using the ArduinoOTA library. This lets you push new sketches to deployed ESP32 boards over Wi-Fi, removing the need to physically access each device — a genuine quality-of-life upgrade over the Blynk workflow. The local web server pattern popularised by Arduino Uno R4 WiFi projects on platforms like Hackster.io also applies here: you can serve a minimal control page directly from the ESP32 itself as a backup interface when your Pi is offline.
If you are scaling beyond a few devices, explore Home Assistant’s MQTT auto-discovery feature, where each ESP32 publishes a JSON config payload to a standard discovery topic and Home Assistant automatically creates entities for it — no manual dashboard configuration required for each new node.
Frequently Asked Questions About How to Migrate from Blynk to a Free IoT Platform
Will my existing ESP32 hardware work after migration?
Yes. The hardware is unchanged — only the firmware library and cloud backend change. Any ESP32 or ESP8266 board that ran Blynk will run PubSubClient and MQTT without modification.
Do I need a Raspberry Pi, or can I use a cloud server?
Either works. A Raspberry Pi 3 or 4 running Mosquitto and Node-RED is the most common self-hosted setup. Alternatively, a free-tier Oracle Cloud or a $5/month VPS can host the same stack with internet-accessible endpoints.
Can I keep using the Blynk app during the transition?
If you’re on the current Blynk IoT (2.0) platform, yes — it keeps working normally while you build your MQTT stack alongside it, so you can decommission it only once your replacement is confirmed working. Blynk Legacy (1.0) is not an option here: its server was permanently shut down at the end of 2022, so any project still depending on it is already offline.
Is MQTT secure enough for home automation?
MQTT over TLS (port 8883) provides encryption equivalent to HTTPS. For most home networks, password-protected Mosquitto on port 1883 is acceptable, but enable TLS if you expose the broker to the internet.
How long does the full migration take?
A single-device project typically takes two to four hours from broker setup to a working Node-RED dashboard. Multi-device setups with automations may take a weekend. The firmware rewrite is usually the fastest part once you have a working template sketch.
If you are still weighing whether the switch is worth the effort, read our honest breakdown at Is Blynk Still Worth It in 2026? before committing either way.
Key Takeaways
Migrating off Blynk comes down to three swaps: a self-hosted Mosquitto broker in place of Blynk’s cloud, Node-RED (or Home Assistant) in place of the app dashboard, and PubSubClient in place of the Blynk library on your firmware. Audit your existing project first so nothing gets lost in the rewrite, keep your new stack running in parallel until you’ve confirmed it works, and secure your broker with authentication — and TLS if it’s reachable from the internet — before you rely on it. Most single-device projects are fully migrated within an afternoon.
More in this series
- Blynk Free Plan Limits and How to Escape Them: Your Practical Guide
- Is Blynk Still Worth It in 2026? The Honest Guide for Makers
- Nodik IoT Platform Review: Honest Verdict for ESP32 Makers
- Blynk vs Nodik: Which IoT Platform Is Better for ESP32 Makers? (2026)
- Best Blynk Alternatives Free and Paid: Top Picks for ESP32 Makers (2026)
Get new posts by email
Pick the topics you care about — we only email you when something new is published in them.