
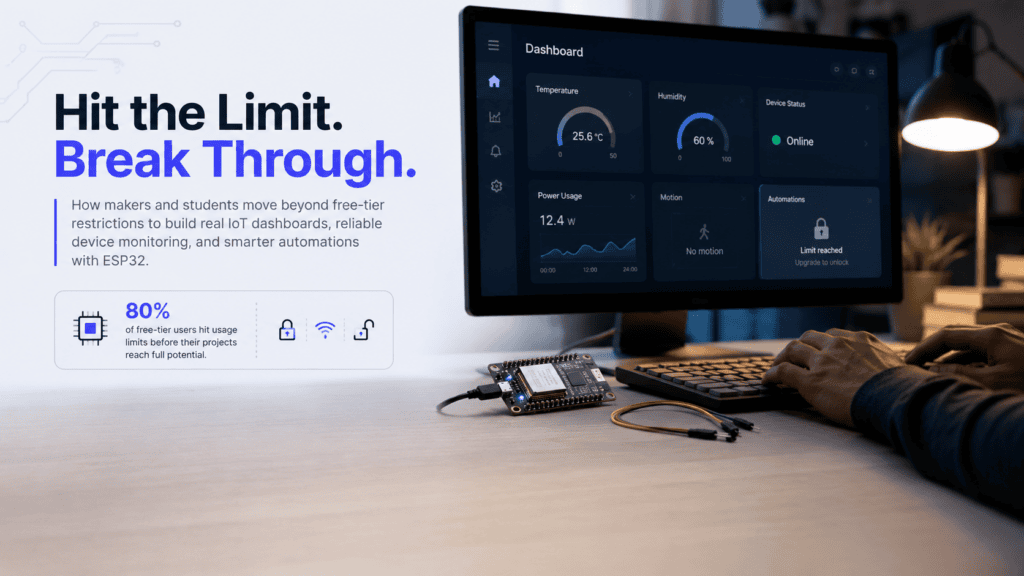
You spent a weekend wiring up your ESP32, flashing firmware, and finally getting sensor data to appear on your Blynk dashboard — only to hit a wall. Your datastream limit is maxed out, automations are locked behind a paywall, and the free tier feels like a demo rather than a working platform. Understanding blynk free plan limits and how to escape them is one of the most common frustrations among student makers and hobbyists building connected devices on a budget.
What Are Blynk Free Plan Limits and How to Escape Them
Definition and Background
Blynk is a popular IoT platform that lets you connect microcontrollers like the ESP32 and ESP8266 to cloud dashboards with minimal code. Its free tier — called the Free Plan — gives you access to the core platform, but with strict resource caps: a small number of active devices, a capped number of datastreams per template, automation rules capped at a handful per organization with a single webhook, and daily ceilings on API update and export calls. Blynk has revised these numbers more than once, so check the current figures on Blynk’s own Limits page before you architect a project around them.
Why It Matters
For a student building a single temperature monitor, the free plan might be just enough. But the moment your project grows — adding humidity, a relay, an OLED status flag, and a second ESP8266 node — you’re blocked. The connected-device market has expanded fast: IoT Analytics put the number of connected IoT devices worldwide at 16.7 billion in 2023, up 16% year on year. Free-tier ceilings are the point where a lot of those hobbyist projects stall. Knowing your options before you hit those walls saves hours of rework.
The Payoff of Mapping Your Limits Early
Primary Advantages
Once you map out what the free plan actually blocks, you can plan your project architecture around those constraints — or migrate to a platform that doesn’t have them. The main benefits of understanding these limits include:
- Avoiding mid-project surprises that break working prototypes
- Choosing the right platform before writing a single line of firmware
- Unlocking multi-sensor, multi-device projects without spending money
- Building skills transferable to professional IoT stacks like MQTT and Home Assistant
Who Benefits Most
Engineering students running semester projects, self-taught makers scaling a home automation setup, and hobbyists who want real device control without monthly fees benefit most from learning their escape routes early. If you’re running more than two ESP32 or ESP8266 boards, or collecting data from more than a handful of sensor channels, the free plan simply wasn’t designed for you.
How to Get Started Escaping the Limits
Step-by-Step Overview
Migrating off Blynk’s free tier is an afternoon’s work for most single-node setups, and it removes datastream restrictions entirely. Here’s a practical path forward:
- Step 1 — Audit your project: List every sensor value, actuator state, and device you need. If it exceeds what Blynk’s free plan allows, it won’t cut it.
- Step 2 — Choose an alternative platform: If you just want your devices online without running a broker, Nodik is a free Blynk alternative built around exactly this problem — 4 devices free forever, live dashboards, and rule-based plus AI anomaly alerts over plain HTTPS, with no MQTT broker or Raspberry Pi required. For local control instead, install Home Assistant on a Raspberry Pi and pair it with an MQTT broker like Mosquitto. For other hosted options, our guide to the best free IoT dashboard tools for ESP32 compares eight platforms with their real free-tier limits.
- Step 3 — Wire up your firmware: On the MQTT path, use PubSubClient to publish sensor data from your ESP32 or ESP8266 to your broker. On an HTTPS platform, skip the broker entirely — the device authenticates once, PATCHes its state, and polls for commands over plain HTTPS.
- Step 4 — Build your dashboard: Node-RED offers a drag-and-drop UI that rivals Blynk’s widget system with zero subscription fees and no device count caps. Hosted platforms give you a widget builder in the browser with nothing to install.
- Step 5 — Test and iterate: Verify data flows correctly at your polling interval before decommissioning your Blynk setup.
Tools and Resources You Need
For the self-hosted route you’ll need a Raspberry Pi 3 or 4 (or any always-on Linux machine), the Mosquitto MQTT broker, Node-RED, and the PubSubClient Arduino library — all free and open source. For a hosted platform, you need nothing beyond the board and a Wi-Fi network. The official MQTT protocol documentation is a solid reference for understanding QoS levels and topic structure as you build.
Common Mistakes to Avoid
Mistake #1 — Rebuilding Everything on Another Free Tier Without Checking Its Limits
Adafruit IO’s free tier throttles you to 60 total data writes per minute across all your feeds combined. Students often migrate from Blynk only to hit Adafruit’s ceiling weeks later. Always read the quota page of any free IoT platform before committing your firmware to it.
Mistake #2 — Using Blynk’s Legacy v1 Library With the New Blynk IoT Platform
Blynk released a completely different backend in 2021 (Blynk IoT). Many tutorials still reference the old library and token system, which is no longer supported. Mixing legacy code with the new platform causes silent connection failures that look like hardware problems but are actually API mismatches.
How to Prevent Them
Always check the platform’s current documentation date before following any tutorial. For Blynk specifically, look for guides dated 2022 or later that reference the Template ID and Auth Token format. For alternatives, prototype with a local broker first so you can iterate without rate limits slowing you down.
Tips for Getting the Best Results
Pro Tips
If you genuinely want to stay on Blynk while managing free plan limits, structure your templates to multiplex data. For example, pack temperature, humidity, and battery voltage into a single datastream as a formatted string, then parse it in the app. It’s a workaround rather than a solution, but it buys you headroom on small projects without upgrading.
For ESP32 projects that send data infrequently, deep sleep between readings dramatically reduces reconnection overhead and keeps your update counts well below any platform’s throttle limits.
Advanced Techniques
Once you’re running MQTT locally, consider adding InfluxDB and Grafana to store and visualize time-series sensor data. This stack gives you retention policies, alerting, and beautiful graphs — capabilities that are paywalled or time-limited on most cloud IoT platforms, but completely free when self-hosted. It’s also the same stack used in professional industrial monitoring environments, so building it as a student gives you real portfolio value.
Frequently Asked Questions About Blynk Free Plan Limits and How to Escape Them
Can I use Blynk free for a commercial project? The free plan is built for prototyping and personal projects. Commercial features like invoice billing, dedicated account management, and white-label publishing sit behind paid plans, so most businesses end up upgrading before they ship a real product — check Blynk’s current terms before deploying anything commercial on the free tier.
Does Blynk free plan allow HTTPS or webhook integrations? HTTP API and webhook support are locked behind paid tiers. If your project needs to push data to a third-party service, you’ll need to handle that logic on your microcontroller or move to a different platform.
What’s the best free Blynk alternative for beginners? If you want the closest one-to-one swap — connect a board, get a dashboard, no server to run — but without Blynk’s device and datastream caps, Nodik is built specifically as a free Blynk alternative: 4 devices free forever, plain HTTPS, no broker to install. If you want a hosted dashboard from a different ecosystem, Adafruit IO is the gentlest starting point. For anyone comfortable running their own Raspberry Pi, Home Assistant with MQTT is significantly more powerful and has no device limits whatsoever.
Will Blynk delete my data if I stay on the free plan? Blynk stores event history for a limited period on the free tier. Long-term data logging requires either a paid plan or an external database you manage yourself.
Knowing your constraints is the first step toward solving them. Hitting Blynk’s free plan ceiling isn’t a dead end — it’s a natural push toward learning the open-source IoT stack that professional developers actually use, or toward a platform built to avoid the problem entirely. Whether you patch around the limits with clever template design, migrate fully to MQTT and Node-RED, or switch to a free Blynk alternative like Nodik, your project doesn’t have to stall at a paywall.
Skip the migration headache. Get 4 devices free, forever.
Nodik connects the same ESP32 or ESP8266 board you already have wired up — live dashboards, rule-based and AI anomaly alerts, all over plain HTTPS. No MQTT broker, no Raspberry Pi, no datastream counter ticking down while you build.
Get new posts by email
Pick the topics you care about — we only email you when something new is published in them.