
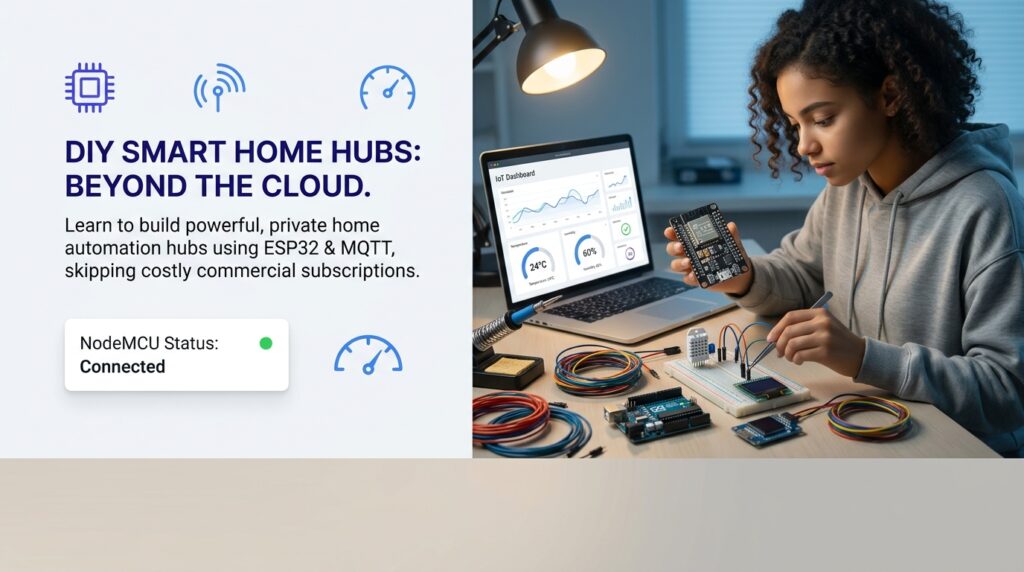
Smart home automation hubs are the quiet backbone of every connected house, workshop, or classroom demo that actually works reliably. Most people assume a hub means buying a boxed product from a big retailer, but anyone with an ESP32 or ESP8266 board can build much of the same functionality, often for far less money. This guide walks through what a hub really does, why microcontrollers make excellent hub foundations, and how to avoid the paywalls that trip up so many student and hobbyist projects.
What Is a Smart Home Automation Hub (And Why DIY Builders Need One)
A hub is the coordination layer that lets sensors, actuators, and the humans watching them speak the same language. Without one, you end up with isolated gadgets that never share data or trigger each other sensibly.
Defining the Hub: Bridging Sensors, Actuators, and Dashboards
At its core, the hub receives readings from sensors — temperature, moisture, motion — and forwards commands to actuators such as relays, servos, or pumps. It also exposes that data to a dashboard where a person can glance at status or flip a switch remotely. For DIY builders, this role doesn’t require proprietary hardware; a single board running the right firmware can handle much of the job, often with more flexibility than a sealed commercial box allows.
Commercial Hubs vs. DIY Microcontroller-Based Hubs
Commercial products such as Ugreen’s HomeAgent local-AI hubs or Apple’s home hub aim for plug-and-play convenience, and they tend to be tied more closely to a single vendor’s ecosystem. They’re well suited to buyers who want zero configuration. DIY builders, however, usually want control over protocols, data ownership, and cost — and that’s exactly where ESP32-based smart home automation hubs shine. You choose the sensors, the dashboard, and the update cadence, rather than accepting whatever the manufacturer decided three product cycles ago.
Why ESP32 and ESP8266 Are Ideal Hub Foundations
Both chips include built-in Wi-Fi, run on modest power, and cost very little compared to commercial hub hardware. The ESP32 adds Bluetooth and more processing headroom, while the ESP8266 remains a budget-friendly option for simpler nodes. Either way, you get a board capable of running MQTT clients, handling multiple sensors, and reporting to a dashboard — everything a hub needs, built from parts a student can afford.
Core Components of a DIY Smart Home Hub
Before wiring anything, it helps to decide on the three building blocks: the microcontroller, the communication protocol, and the dashboard that will display everything.
Microcontroller Choice: ESP32 vs ESP8266 for Hub Duty
Choose the ESP32 when your project needs more I/O pins, Bluetooth, or heavier processing — multiple sensors, camera modules, or local automation logic. Stick with the ESP8266 for simple single-purpose nodes like a temperature logger or a single relay controller. Many builders mix both: an ESP32 as the central hub and several ESP8266 nodes reporting in.
Communication Protocols: MQTT, HTTP, and WebSockets Compared
MQTT is a popular choice for smart home automation hubs because its publish-subscribe design is lightweight and scales well as you add devices. HTTP works fine for occasional one-off requests but adds overhead when many nodes report frequently. WebSockets suit real-time dashboards that need instant updates but are heavier to implement on constrained hardware. For a hub coordinating several sensors, MQTT’s small message footprint helps keep bandwidth and power use low.
Choosing a Dashboard Layer for Visualization and Control
The dashboard is where your hub becomes usable by a human rather than just a stream of packets. Options range from lightweight cloud dashboards to full home automation platforms. We’ll cover the tradeoffs in the next section, since this is also where most builders hit unexpected paywalls.
Why Free Blynk Alternatives Matter for Hub Builders
Blynk popularized the idea of pairing a mobile dashboard with ESP32 and ESP8266 projects, and for small demos it still works well. The trouble starts once a project grows beyond a classroom prototype.
The Blynk Free-Tier Problem: Message Quotas and Field Limits
Blynk’s free tier caps the messages your devices can send at 100,000 per month. That sounds generous until you calculate how fast a real multi-sensor project burns through it. Any hub reporting several fields every few seconds will exhaust that quota long before the month ends, leaving the dashboard silent at the worst possible moment.
Case Study: A Pump Controller That Outgrew Blynk’s Quota
In our own deployment, a borewell pump controller ran on Blynk with sixteen telemetry fields updating every five seconds. That update rate burned through the free-tier message quota well before the month was over. The controller is a production system — it can’t afford to go dark because a cloud quota ran out mid-month. We migrated it off Blynk, and it now runs live on Nodik. Nodik paces update intervals by plan, and the free tier updates roughly every 15 seconds per device, so a five-second cadence needs a plan with faster pacing. For anyone weighing a move off Blynk, our migration guide walks through a self-hosted route built on an MQTT broker and Node-RED.
Comparing Nodik, Home Assistant, and Grafana for Hub Dashboards
Nodik’s free tier includes four devices with no credit card required, which is enough to run a genuine project rather than a crippled demo. It uses its own device protocol rather than MQTT, so it needs no broker, and it suits builders who want a simple dashboard without a server to maintain. Home Assistant is the stronger choice when you’re building a full home ecosystem with automations across many device types, and our Node-RED review is a useful companion read if you plan to script logic between devices. Grafana, meanwhile, excels at historical charting and trend analysis once you have a database behind your sensors — see our Grafana review for setup details. Each tool fits a different scale of smart home automation hubs, so the right pick depends on how big your project is meant to grow.
Building Your Own ESP32-Based Automation Hub Step by Step
With the components chosen, the actual build follows a predictable sequence: get devices talking, build the dashboard, then optimize for power where needed.
Setting Up MQTT Communication Between Devices and Hub
Start by installing an MQTT broker, either locally via Mosquitto or through a hosted service, then configure each ESP32 node to publish sensor readings to distinct topics. The hub subscribes to those topics and republishes commands back to actuator nodes. This pattern keeps devices decoupled — you can add or remove a node without reconfiguring the rest of the system, a property that matters a great deal once your smart home automation hubs grow past a handful of devices.
Designing a Multi-Device Dashboard Without Hitting Paywalls
Group related fields logically — one screen for climate sensors, another for relays — so you’re not cramming everything into a single crowded view. Platforms like Nodik let you organize multiple devices under one free account, which keeps a modest-sized home project well within free-tier limits. If your project ideas need more than a basic relay control pattern, our guide on ESP32 relay control from a phone walks through a complete working example.
Handling Power Efficiency with Deep Sleep for Battery Nodes
Battery-powered sensor nodes should spend most of their life asleep. The ESP32’s deep sleep mode cuts power draw dramatically compared to staying awake and polling Wi-Fi continuously, which is one of the biggest factors in how long a battery-powered node survives between charges. Wake the node on a timer, take a reading, publish it, then return to sleep — a cycle that can keep remote sensors running far longer, depending on battery size and wake interval.
Scaling and Maintaining Your Smart Home Hub
A hub that works on day one needs ongoing care as you add devices and firmware evolves.
Adding New Devices Without Breaking Free-Tier Limits
Before adding a new sensor, check how many message slots or device limits remain on your dashboard platform. Spreading devices across logical groups, and trimming unnecessary field updates, helps you stay under limits far longer than treating every field as equally urgent. Our project checklist is a useful reference when auditing a hub before it goes live.
OTA Firmware Updates for Easier Long-Term Maintenance
Over-the-air updates let you push firmware fixes to every node in your home automation setup without physically connecting a laptop to each board. This matters enormously once nodes are mounted inside walls, pump housings, or outdoor enclosures where re-flashing by cable is impractical. Build OTA support in from the start rather than retrofitting it after your tenth device goes into hiding behind drywall.
Troubleshooting Connectivity and Data Drop Issues
Dropped MQTT connections are often a Wi-Fi signal issue or a broker timeout rather than a code bug. Check reconnection logic first, confirm your router isn’t throttling IoT devices, and verify the broker’s keep-alive settings match your node’s reporting interval. Persistent gaps in your data history are often the first sign that your smart home automation hubs setup needs a network audit rather than a firmware rewrite.
Frequently Asked Questions
Can I run a full smart home on ESP32 without any paid cloud service?
Yes. ESP32 nodes with a self-hosted Mosquitto broker and Home Assistant need no paid cloud service, though you run the server yourself. Alternatively, a free cloud dashboard tier such as Nodik’s four-device plan works without a broker, which is often enough for hobbyist and student-scale projects.
What’s the difference between a hub and a dashboard?
The hub handles device communication and logic — deciding what happens when a sensor crosses a threshold. The dashboard is the visual layer where a person views data and sends manual commands. Many setups run both roles on the same ESP32 board for simplicity.
How many devices can a free-tier platform like Nodik realistically support?
Nodik’s free tier supports up to four devices with no card required, which comfortably covers a starter home automation project spanning a few rooms or a single outdoor system like a pump controller.
Is Home Assistant better than a cloud dashboard for automation hubs?
It depends on scope. Home Assistant excels once you’re coordinating many device types and complex automations locally. A lighter cloud dashboard like Nodik is often faster to set up for a handful of ESP32 nodes and doesn’t require running a dedicated server.
Do I need MQTT if I’m just controlling a few LEDs?
Not strictly — a simple HTTP request can toggle an LED just fine. MQTT becomes worthwhile once you add more devices or want near-instant, low-overhead updates across a growing set of smart home automation hubs.
Take the next step: Try it free — no credit card required.
Nodik gives students, freelancers, and makers a free 4-device dashboard to run real smart home automation hubs — no card required.
Get new posts by email
Pick the topics you care about — we only email you when something new is published in them.